> ## Documentation Index
> Fetch the complete documentation index at: https://docs.gpuhub.com/llms.txt
> Use this file to discover all available pages before exploring further.
# Visdom
> Visdom is a visualization tool that generates rich visualizations of live data to help researchers and developers stay on top of their scientific experiments that are run on remote servers.
 ## SSH Tunneling Method
1. Start Visdom in the instance (it will listen on port 8097 by default).
2. In the terminal on your local computer, execute the command:
```bash bash theme={null}
ssh -CNgv -L 8097:127.0.0.1:8097 root@region-1.gpuhub.com -p 37881
```
In here, `8097:127.0.0.1:8097` means forwarding the Visdom Server's port `8097` to your local port `8097`, and `root@region-1.gpuhub.com` and `37881` are the access address and port of the instance's SSH command, respectively. Please replace them accordingly.
It is normal not to see any logs after executing the above ssh command, as long as it does not prompt you to re-enter your password or exit.
Example:
```
@seeta:~$ ssh -CNg -L 8097:127.0.0.1:8097 root@region-1.gpuhub.com -p 37881
The authenticity of host '[region-1.gpuhub.com]:37881 ([120.92.100.9]:37881)' can't be established.
ECDSA key fingerprint is SHA256:eNwieuMEZiNCONaDJXFsAJRBfTnU7f3gQWZ+A2n1j1o.
Are you sure you want to continue connecting (yes/no)? yes
Warning: Permanently added '[region-1.gpuhub.com]:37881,[120.92.100.9]:37881' (ECDSA) to the list of known hosts.
root@region-1.gpuhub.com's password:
```
Access `127.0.0.1:8097` in your local web browser to open Visdom.
## SSH Tunneling Method
1. Start Visdom in the instance (it will listen on port 8097 by default).
2. In the terminal on your local computer, execute the command:
```bash bash theme={null}
ssh -CNgv -L 8097:127.0.0.1:8097 root@region-1.gpuhub.com -p 37881
```
In here, `8097:127.0.0.1:8097` means forwarding the Visdom Server's port `8097` to your local port `8097`, and `root@region-1.gpuhub.com` and `37881` are the access address and port of the instance's SSH command, respectively. Please replace them accordingly.
It is normal not to see any logs after executing the above ssh command, as long as it does not prompt you to re-enter your password or exit.
Example:
```
@seeta:~$ ssh -CNg -L 8097:127.0.0.1:8097 root@region-1.gpuhub.com -p 37881
The authenticity of host '[region-1.gpuhub.com]:37881 ([120.92.100.9]:37881)' can't be established.
ECDSA key fingerprint is SHA256:eNwieuMEZiNCONaDJXFsAJRBfTnU7f3gQWZ+A2n1j1o.
Are you sure you want to continue connecting (yes/no)? yes
Warning: Permanently added '[region-1.gpuhub.com]:37881,[120.92.100.9]:37881' (ECDSA) to the list of known hosts.
root@region-1.gpuhub.com's password:
```
Access `127.0.0.1:8097` in your local web browser to open Visdom.
 ## Custom Service Method
Start the instance and locate the "Custom Services" entry point.
## Custom Service Method
Start the instance and locate the "Custom Services" entry point.
 From the prompt, it is clear that we only need to start Visdom on port 6006 to access it via the "Custom Services" portal:
Start Visdom in the instance and specify the port as `6006`.
```
# If Visdom is not installed, first execute pip install visdom to install it
# visdom -port 6006
Checking for scripts.
It's Alive!
INFO:root:Application Started
You can navigate to http://container-7e5111bf0c-8a82bc6b:6006
```
Additionally, since the Visdom client defaults to connecting to the Visdom server on the original port, you need to modify the construction of the Visdom object in the client code as follows:
```python python theme={null}
vis = Visdom(server='http://localhost', port='6006', env='main')
```
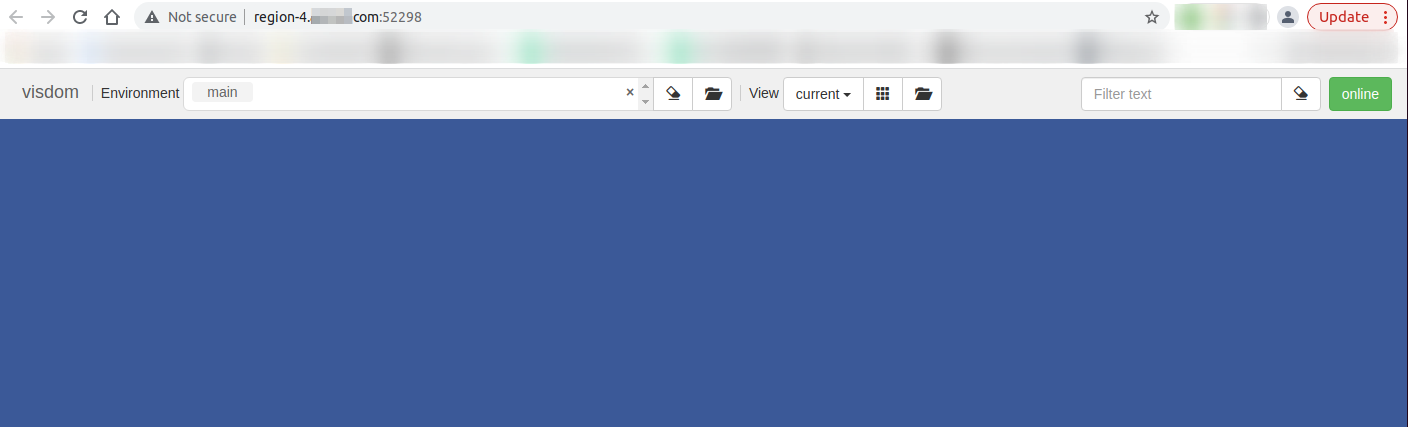
After starting, access the custom service in your local browser.
From the prompt, it is clear that we only need to start Visdom on port 6006 to access it via the "Custom Services" portal:
Start Visdom in the instance and specify the port as `6006`.
```
# If Visdom is not installed, first execute pip install visdom to install it
# visdom -port 6006
Checking for scripts.
It's Alive!
INFO:root:Application Started
You can navigate to http://container-7e5111bf0c-8a82bc6b:6006
```
Additionally, since the Visdom client defaults to connecting to the Visdom server on the original port, you need to modify the construction of the Visdom object in the client code as follows:
```python python theme={null}
vis = Visdom(server='http://localhost', port='6006', env='main')
```
After starting, access the custom service in your local browser.