> ## Documentation Index
> Fetch the complete documentation index at: https://docs.gpuhub.com/llms.txt
> Use this file to discover all available pages before exploring further.
# Remote Desktop
> The document provides a guide on setting up VNC for remote GUI access on GPUhub instances without needing a full desktop environment.
 Due to the complicated setup and average experience of remote desktops, if it's not a strong necessity for you, it is recommended that you make corresponding adjustments to your code (for example, replace OpenCV's `imshow` with `imsave` to save images and then view them).
## About VNC
VNC (Virtual Network Computing) is a graphical desktop sharing protocol that uses the remote framebuffer protocol (RFB) to remotely control another computer.
It transmits keyboard and mouse events from one computer to another and forwards graphical screen updates over the network in the opposite direction.
For general GUI program execution needs, we can actually use VNC to conveniently implement this without installing a complete desktop environment.
Below is an introduction on how to use the TurboVNC tool to run a GUI program within an instance and display it on your local computer:
Install VNC and some necessary graphics libraries:
1.1 Install basic dependency packages
```bash bash theme={null}
# Install basic dependency packages
apt update && apt install -y libglu1-mesa-dev mesa-utils xterm xauth x11-xkb-utils xfonts-base xkb-data libxtst6 libxv1
# Install libjpeg-turbo and turbovnc
export TURBOVNC_VERSION=2.2.5
export LIBJPEG_VERSION=2.0.90
wget http://aivc.ks3-cn-beijing.ksyun.com/packages/libjpeg-turbo/libjpeg-turbo-official_${LIBJPEG_VERSION}_amd64.deb
wget http://aivc.ks3-cn-beijing.ksyun.com/packages/turbovnc/turbovnc_${TURBOVNC_VERSION}_amd64.deb
dpkg -i libjpeg-turbo-official_${LIBJPEG_VERSION}_amd64.deb
dpkg -i turbovnc_${TURBOVNC_VERSION}_amd64.deb
rm -rf *.deb
# Start the VNC server, which may involve configuring a VNC password (note that this is not the instance's account password). If there's an error saying xauth is not found, install it again with apt install xauth.
rm -rf /tmp/.X1* # If starting again, remove the temporary files from the last time, otherwise it won't start properly
USER=root /opt/TurboVNC/bin/vncserver :1 -desktop X -auth /root/.Xauthority -geometry 1920x1080 -depth 24 -rfbwait 120000 -rfbauth /root/.vnc/passwd -fp /usr/share/fonts/X11/misc/,/usr/share/fonts -rfbport 6006
# Check if it has started; if there's a vncserver process, it means it has started
ps -ef | grep vnc
```
When starting the server, the rfbport=6006 port was manually set. Next, an [SSH tunnel]() will be used to proxy the 6006 port from the instance to your local machine.
After completing the above steps, use a VNC client to connect with the address `127.0.0.1:6006`.
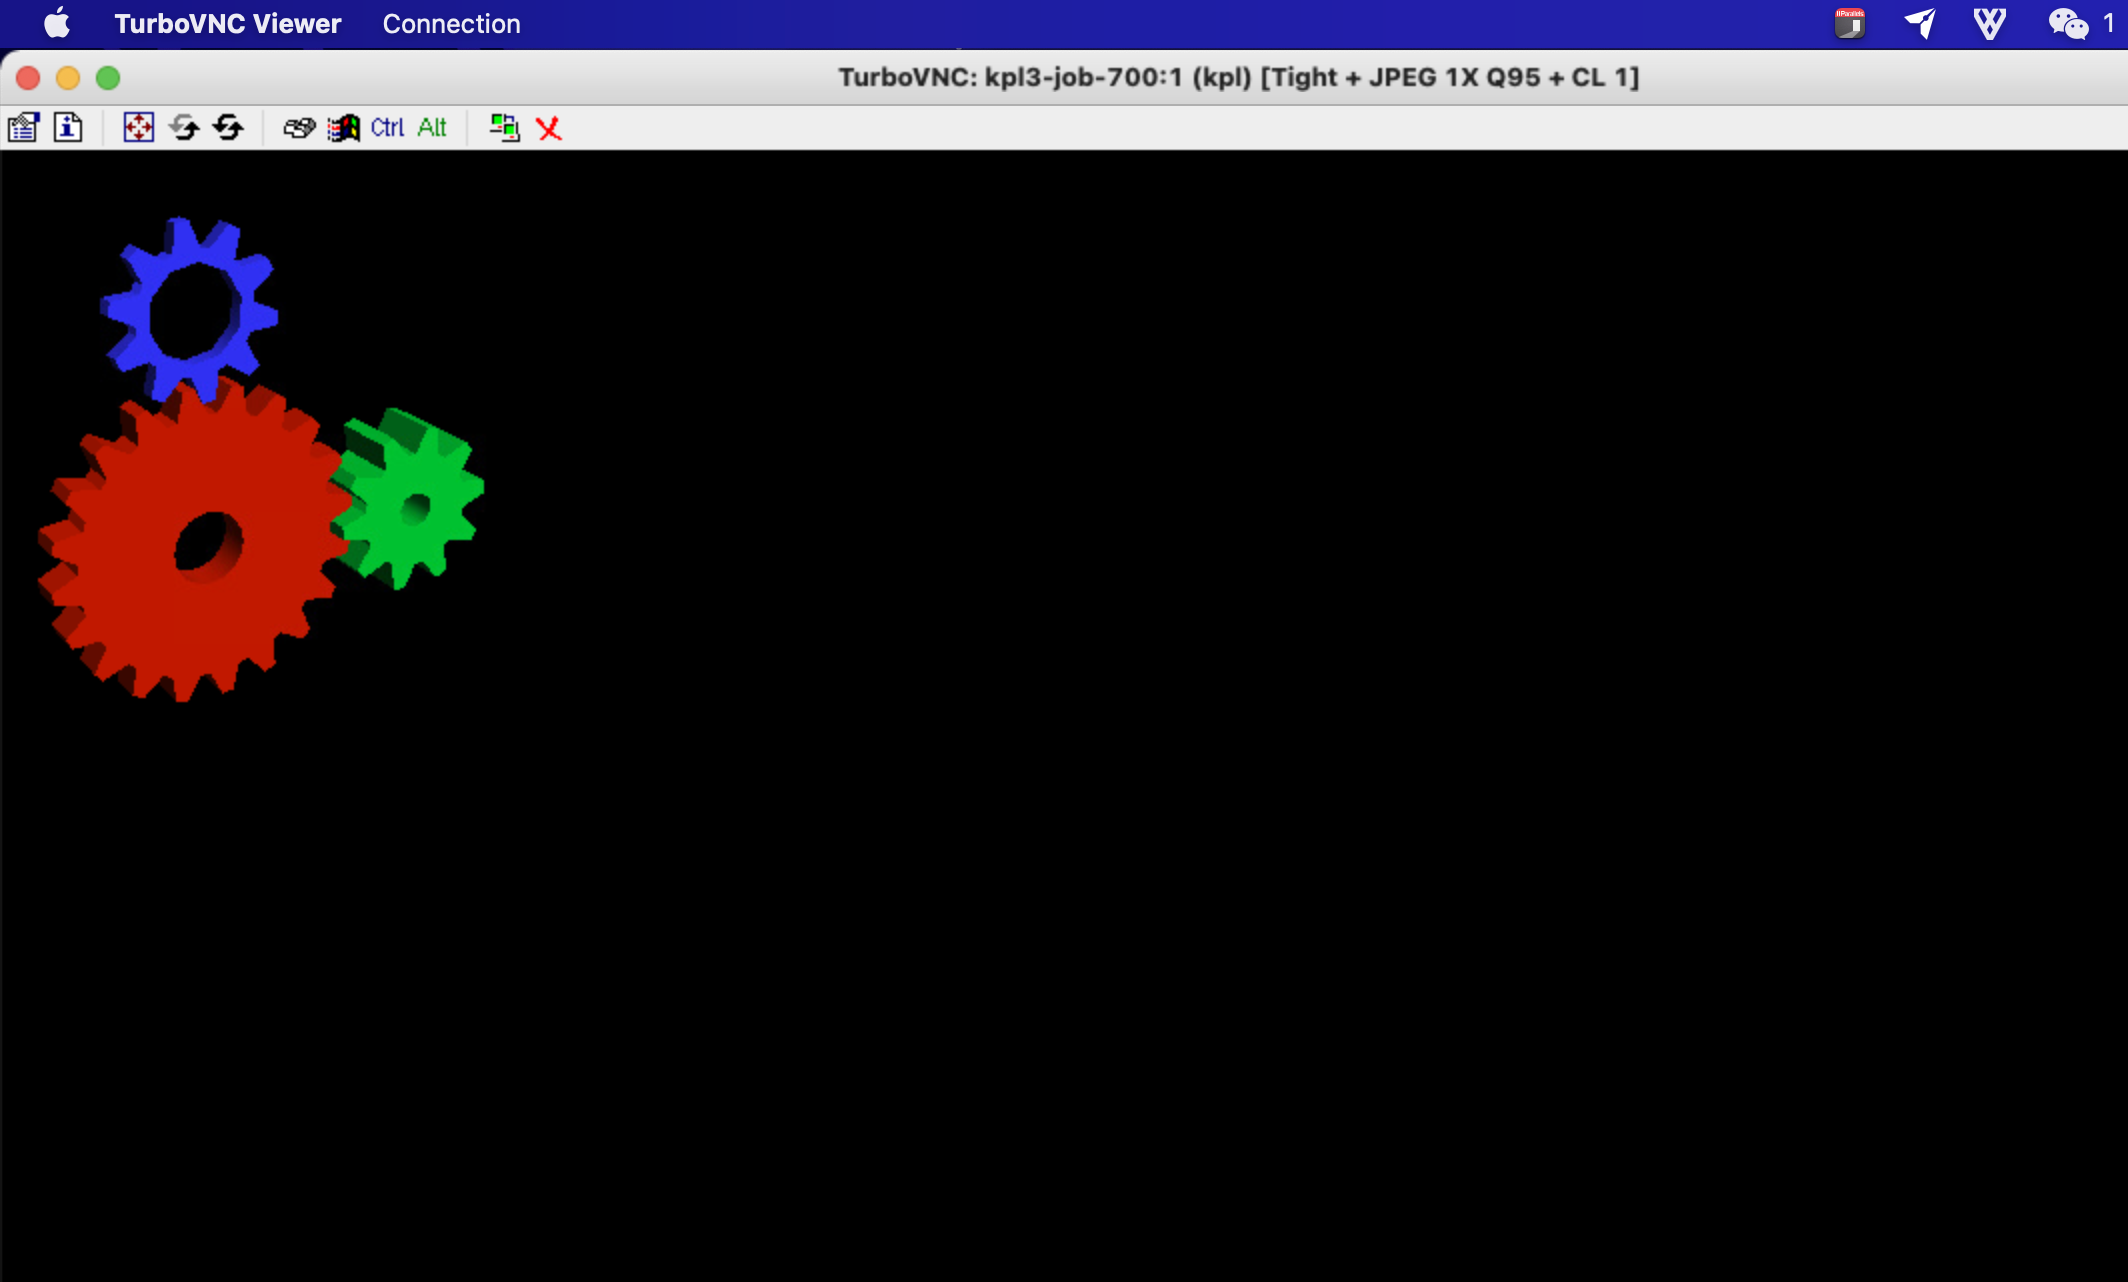
Use the TurboVNC client on your local computer to connect to the address obtained above. If everything goes well, after entering the password, you will see the graphical interface after a successful VNC connection, as well as the GUI program running on the instance. Additionally, download links for the TurboVNC client for different systems are provided here (you can also download from the [official TurboVNC website](https://turbovnc.org/)).
* For Ubuntu: [TurboVNC 2.2.5 for Ubuntu](http://aivc.ks3-cn-beijing.ksyun.com/packages/turbovnc/turbovnc_2.2.5_amd64.deb)
* For MacOS: [TurboVNC 2.2.5 for MacOS](http://aivc.ks3-cn-beijing.ksyun.com/packages/turbovnc/TurboVNC-2.2.5.dmg)
* For Windows: [TurboVNC 2.2.5 for Windows](http://aivc.ks3-cn-beijing.ksyun.com/packages/turbovnc/TurboVNC-2.2.5-x64.exe)
Please note that due to network issues, the parsing of the above URLs was unsuccessful. If you need the content from these web pages, please check the validity of the web page links and try again. If the problem persists, it may be related to the link or network issues, and you might need to retry or contact the website administrator for assistance.
Due to the complicated setup and average experience of remote desktops, if it's not a strong necessity for you, it is recommended that you make corresponding adjustments to your code (for example, replace OpenCV's `imshow` with `imsave` to save images and then view them).
## About VNC
VNC (Virtual Network Computing) is a graphical desktop sharing protocol that uses the remote framebuffer protocol (RFB) to remotely control another computer.
It transmits keyboard and mouse events from one computer to another and forwards graphical screen updates over the network in the opposite direction.
For general GUI program execution needs, we can actually use VNC to conveniently implement this without installing a complete desktop environment.
Below is an introduction on how to use the TurboVNC tool to run a GUI program within an instance and display it on your local computer:
Install VNC and some necessary graphics libraries:
1.1 Install basic dependency packages
```bash bash theme={null}
# Install basic dependency packages
apt update && apt install -y libglu1-mesa-dev mesa-utils xterm xauth x11-xkb-utils xfonts-base xkb-data libxtst6 libxv1
# Install libjpeg-turbo and turbovnc
export TURBOVNC_VERSION=2.2.5
export LIBJPEG_VERSION=2.0.90
wget http://aivc.ks3-cn-beijing.ksyun.com/packages/libjpeg-turbo/libjpeg-turbo-official_${LIBJPEG_VERSION}_amd64.deb
wget http://aivc.ks3-cn-beijing.ksyun.com/packages/turbovnc/turbovnc_${TURBOVNC_VERSION}_amd64.deb
dpkg -i libjpeg-turbo-official_${LIBJPEG_VERSION}_amd64.deb
dpkg -i turbovnc_${TURBOVNC_VERSION}_amd64.deb
rm -rf *.deb
# Start the VNC server, which may involve configuring a VNC password (note that this is not the instance's account password). If there's an error saying xauth is not found, install it again with apt install xauth.
rm -rf /tmp/.X1* # If starting again, remove the temporary files from the last time, otherwise it won't start properly
USER=root /opt/TurboVNC/bin/vncserver :1 -desktop X -auth /root/.Xauthority -geometry 1920x1080 -depth 24 -rfbwait 120000 -rfbauth /root/.vnc/passwd -fp /usr/share/fonts/X11/misc/,/usr/share/fonts -rfbport 6006
# Check if it has started; if there's a vncserver process, it means it has started
ps -ef | grep vnc
```
When starting the server, the rfbport=6006 port was manually set. Next, an [SSH tunnel]() will be used to proxy the 6006 port from the instance to your local machine.
After completing the above steps, use a VNC client to connect with the address `127.0.0.1:6006`.
Use the TurboVNC client on your local computer to connect to the address obtained above. If everything goes well, after entering the password, you will see the graphical interface after a successful VNC connection, as well as the GUI program running on the instance. Additionally, download links for the TurboVNC client for different systems are provided here (you can also download from the [official TurboVNC website](https://turbovnc.org/)).
* For Ubuntu: [TurboVNC 2.2.5 for Ubuntu](http://aivc.ks3-cn-beijing.ksyun.com/packages/turbovnc/turbovnc_2.2.5_amd64.deb)
* For MacOS: [TurboVNC 2.2.5 for MacOS](http://aivc.ks3-cn-beijing.ksyun.com/packages/turbovnc/TurboVNC-2.2.5.dmg)
* For Windows: [TurboVNC 2.2.5 for Windows](http://aivc.ks3-cn-beijing.ksyun.com/packages/turbovnc/TurboVNC-2.2.5-x64.exe)
Please note that due to network issues, the parsing of the above URLs was unsuccessful. If you need the content from these web pages, please check the validity of the web page links and try again. If the problem persists, it may be related to the link or network issues, and you might need to retry or contact the website administrator for assistance.
 Add the environment variable in the terminal: `export DISPLAY=:1`, and then run your command (make sure to execute it in the same terminal).
You can use the following Python code for a simple verification:
```python python theme={null}
import numpy as np
import cv2
h = 500
w = 500
img = 255 * np.ones((h, w, 3), dtype=np.uint8)
cv2.imshow("", img)
cv2.waitKey(0)
```
If the image is displayed in the local VNC client, it proves that the installation and startup process are correct.
Add the environment variable in the terminal: `export DISPLAY=:1`, and then run your command (make sure to execute it in the same terminal).
You can use the following Python code for a simple verification:
```python python theme={null}
import numpy as np
import cv2
h = 500
w = 500
img = 255 * np.ones((h, w, 3), dtype=np.uint8)
cv2.imshow("", img)
cv2.waitKey(0)
```
If the image is displayed in the local VNC client, it proves that the installation and startup process are correct.