In GPUhub instances, data (including environments) is saved even after shutdown.
You needn’t reconfigure or reupload data upon restart. However, instances will be released if shut down continuously for 15 days.
For details, see Instance Data Retention Policy.
Create an Instance
After registration, enter the console. Under My Instances, click “Launch Instance”.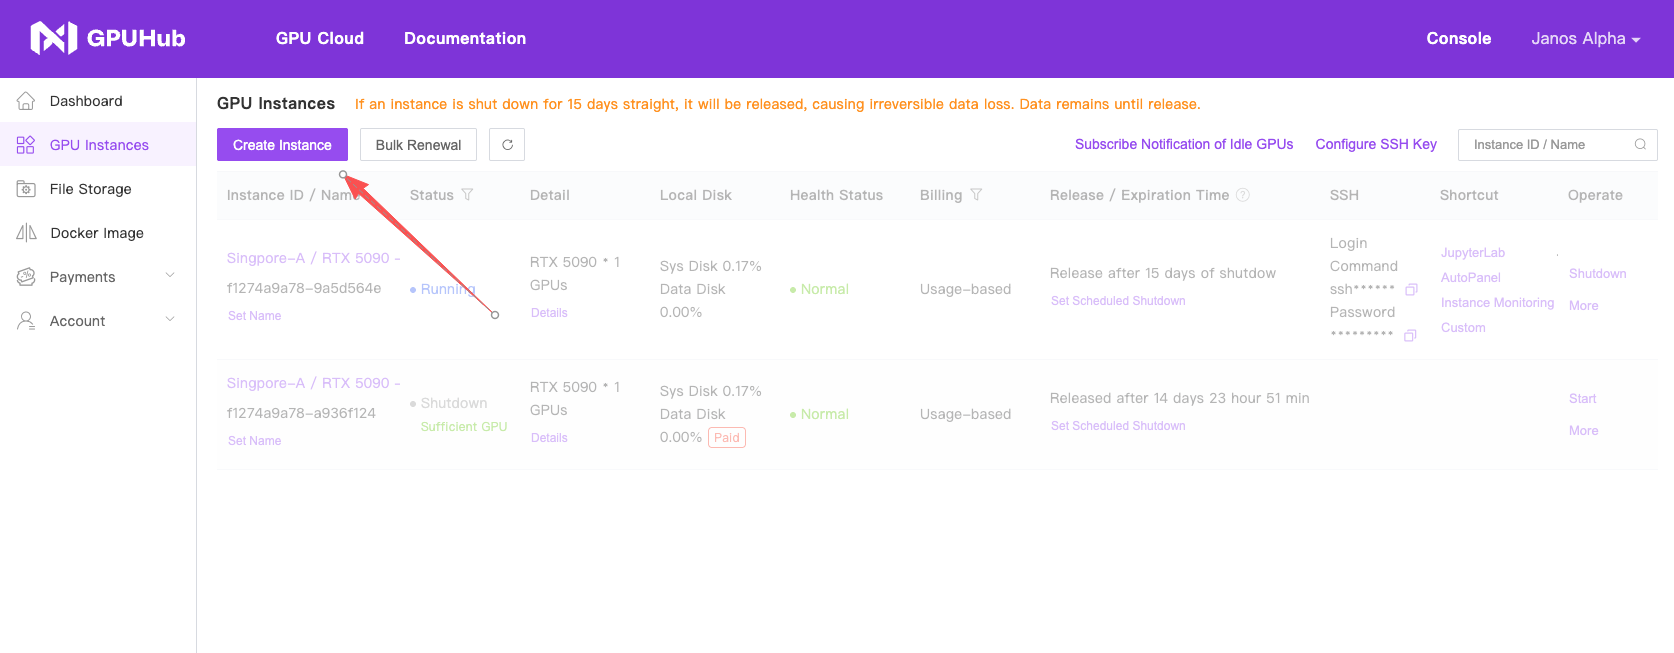

Upload Data
Once the instance is running, find the “JupyterLab” shortcut tool and click to open it. Locate the upload button in the screenshot to upload data. For folder uploads or advanced methods, refer to the Data Upload documentation.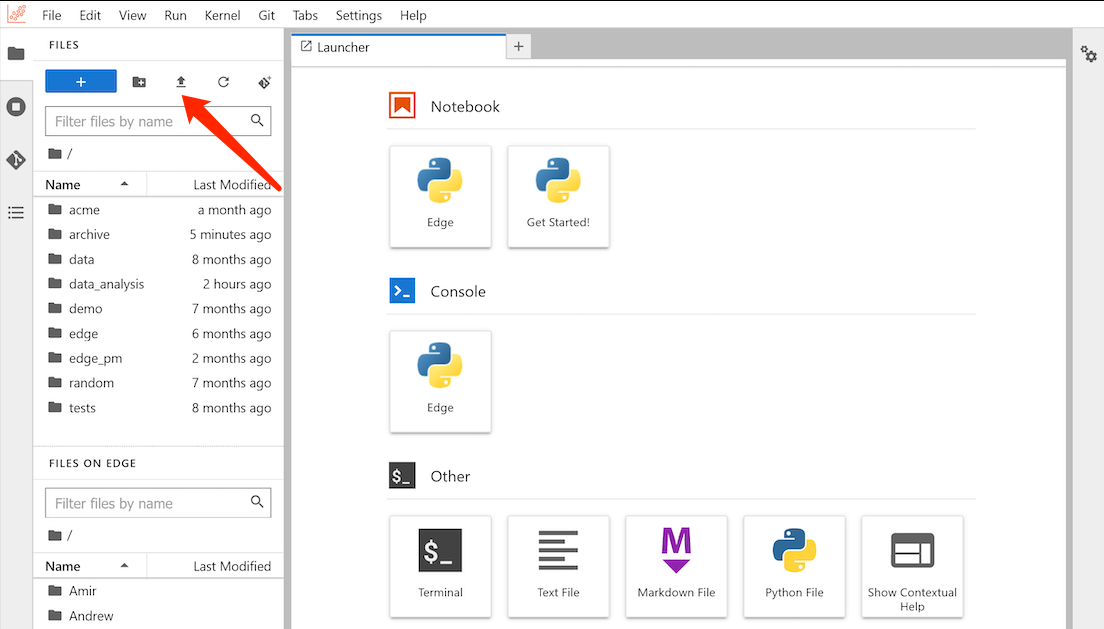
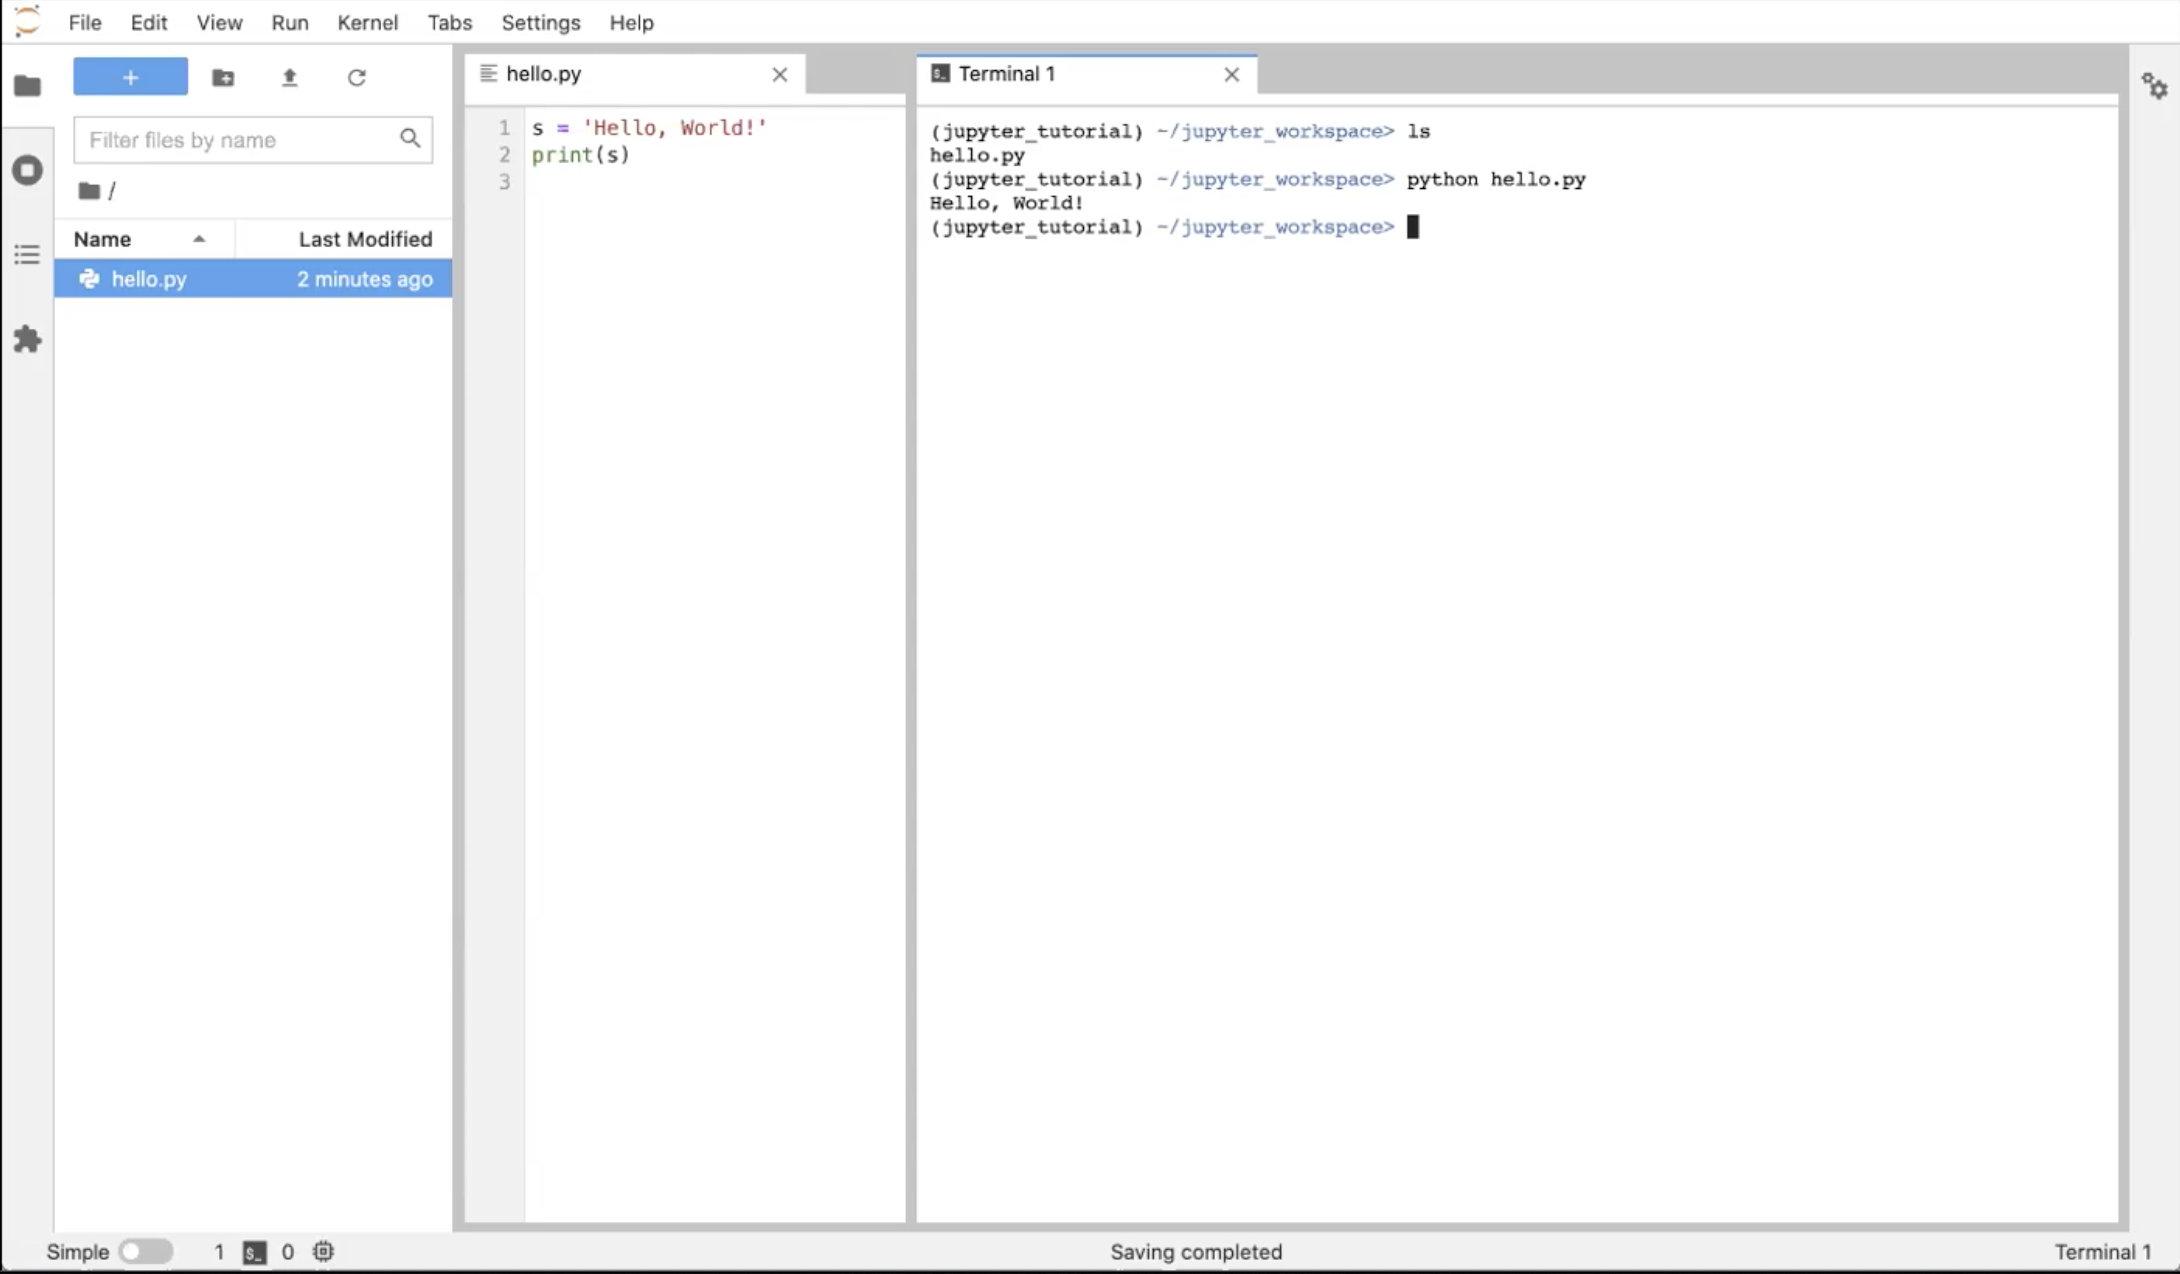
Terminal Training
Open the terminal in the JupyterLab page. For remote development with other IDEs, refer to VSCode (recommended) and PyCharm.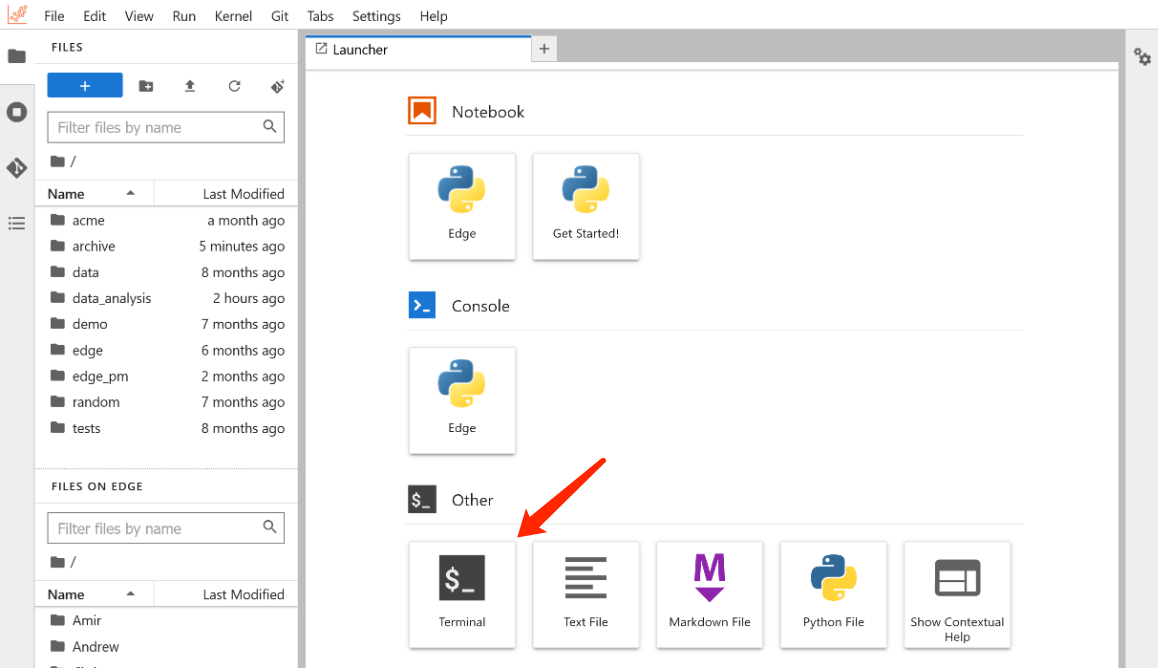
Advanced Learning
GPU Selection
Select GPU type and count
Environment Configration
Config your development environment
Upload Data
Upload data with FileZilla
Securely access your instance via SSH
Open Ports
Expose custom ports to make your applications accessible
VSCode
Remote development with VSCode
PyCharm
Remote development with PyCharm
Run a Daemon Process
Keep alive with a daemon process
Linux Basics
Basic Linux commands
FAQ
Frequently asked questions